Back to TheWorxHub for Senior Living Main Menu
Resident Sync
The Resident Sync module is an import tool that allows you to extract resident census data directly from your Electronic Health Record (EHR) system and import it into the TheWorxHub account of your senior living organization. It is designed to eliminate double entry of resident changes. *Note: If you do not currently have this application, please contact your Sales Representative or Client Services for more information.
Setting Up Your Account for the Resident Sync Module
To set up the Resident Sync module in your TheWorxHub account, you will need to fulfill the following procedure.
-
Turn on permission for selected roles to have access to the module. You may want to consider this access for admins/managers only. Customize other user roles to grant permission when necessary *Note: You can skip this step for the roles with pre-configured permission to import resident data.
-
From the navigation menu, go to Settings and find the User tab.
-
Choose the new role you want to give permission to in the Roles & Permission sub-tab underneath.
-
Click on the Imports drop-down at the bottom and check the Can Import Resident Data box for the role.
-
Click Save to update.
-
For the roles with existing permission, directly assign who to run the module.

-
-
Set Resident Census Partner in Settings.
-
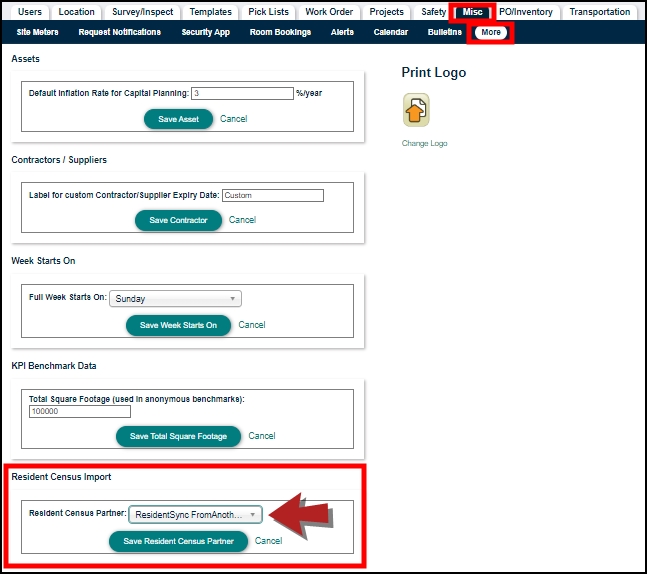
Go to the Misc tab and click on the More sub-tab underneath.
-
Find Resident Census Import and click the Resident Census Partner drop-down.
-
Select a suitable partner and click Save Resident Census Partner to update. This will make available the import template option that you can use, which is From Another System.
-
-
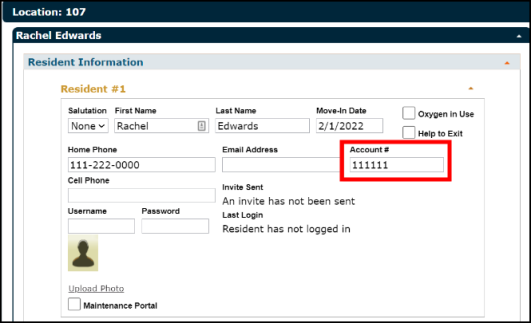
If you have existing resident data in your account, ensure resident account numbers have been entered. You would need to enter this information if account numbers were missing to save you time in this process eventually. *Note: Skip this step if no resident data has been added.
-
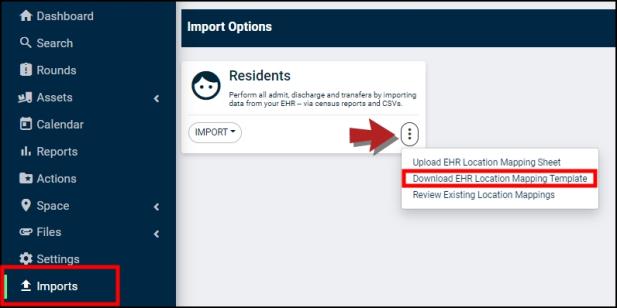
Download the EHR Location Mapping template from Imports and complete a one-time location mapping exercise.
-
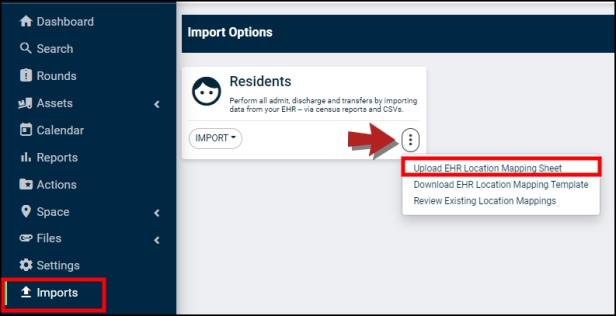
Go to Imports in the navigation menu.
-
Click the Kebab menu on the Residents card to download a template for the location mapping spreadsheet.
-
-
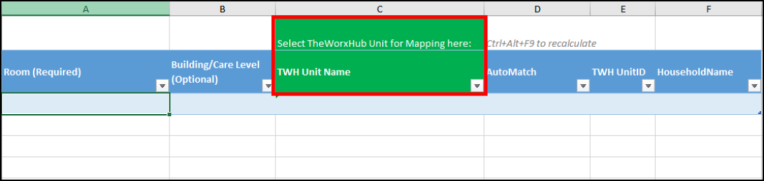
Complete columns A (Room) and B (Building/Care Level). *Note: You will need to verify the information from your EHR system in the first two columns of the mapping sheet.
-
An auto-mapping exercise will run automatically, and the spreadsheet will begin finding an exact match with the existing TheWorxHub location.
-
You can adjust column C (Unit Name) of the spreadsheet if an exact match is not found by choosing the correct TWH Unit Name from the column's drop-down.
-
Upload the completed EHR Location Mapping spreadsheet.
-
Go to Imports in the navigation menu for the Residents card.
-
Click on the Kebab menu to upload the spreadsheet.
-
-
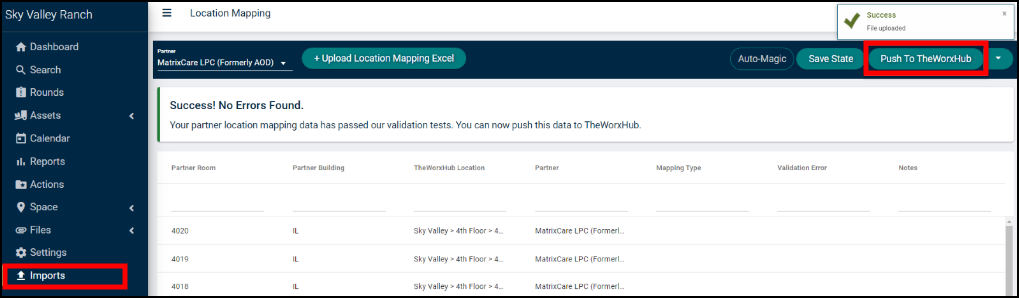
Make corrections on this page if you find any validation errors. You can click the Push To TheWorxHub button at the top right corner when no more validation errors are found.
-
Once the push is complete, you can review existing mapping and make changes if needed. *Note: If a location was not mapped in the uploading process and a non-mapped location appeared on the census, you could map it again when importing the resident census.
- When exporting the data from your EHR system, align the resident census mapping sheet with these data points, following this exact order:*Note: You will need to customize your resident census data export to match the standard format required for the import. This module cannot support other formats at this time.
Transferable resident data i. Building ii. Room iii. Last Name iv. First Name v. Home Phone vi. Cell Phone vii. Email viii. Patient ID ix. Admission Date xi. Admission ID *Note: For NetSmart users only.
Running the Resident Sync Module
Once the setup is complete, you are ready to import a resident census. You may sync your data as regularly as you like to meet your needs, but once a week for accurate record-keeping is highly recommended.
-
Go back to Imports in the navigation menu. Your census data should be ready in the correct format. *Note: Admission ID is for NetSmart users only, otherwise leave it blank.
-
Click the Import drop-down on the Residents card and choose From Another System.

-
Click the Start Process button in the top right corner of the screen.
-
Then click the Import Residents button to upload your census data. After the file is uploaded, the system will take you through a series of steps to complete the process.
-
If your TheWorxHub account already has resident data, run a clean-up task on the Resident Import Preview report to make corrections, such as missing account numbers, duplicate account IDs, or residents with unmapped locations. You can do the clean-up changes directly from the page. *Note: The orange banner indicates you are making live changes.
-
Continue with the process if there are no clean-up tasks.
-
The system will then show the number of ADMITs, DISCHARGEs, TRANSFERs, and Not Discharged that will be processed from the census data.
-
Click the Complete Process button in the top right corner.
-
Upon completion, run a privy report as well as a log transaction report as necessary. *Note: A printable report of the clean-up task will be available for you after importing your organization's census data.
With the Resident Sync application, senior living users can maintain and track accurate resident records through the different care levels and support personalization of and maintain accurate resident billing without requiring a manual double entry in two systems.
